

Marquetry by Adrian Carter
Adrian became so interested by examples of marquetry seen whilst on holiday in Sorrento in 2016, that he he took a 6 weeks course run by Leeds Marquetry Group the next year. He joined the group which is almost 70 years old, and is a good source of information, kits and veneers.
Adrian uses the Window method of marquetry. An outline drawing of the subject is traced onto a piece of breakfast cereal cardboard which fortunately is the same thickness as the veneers.
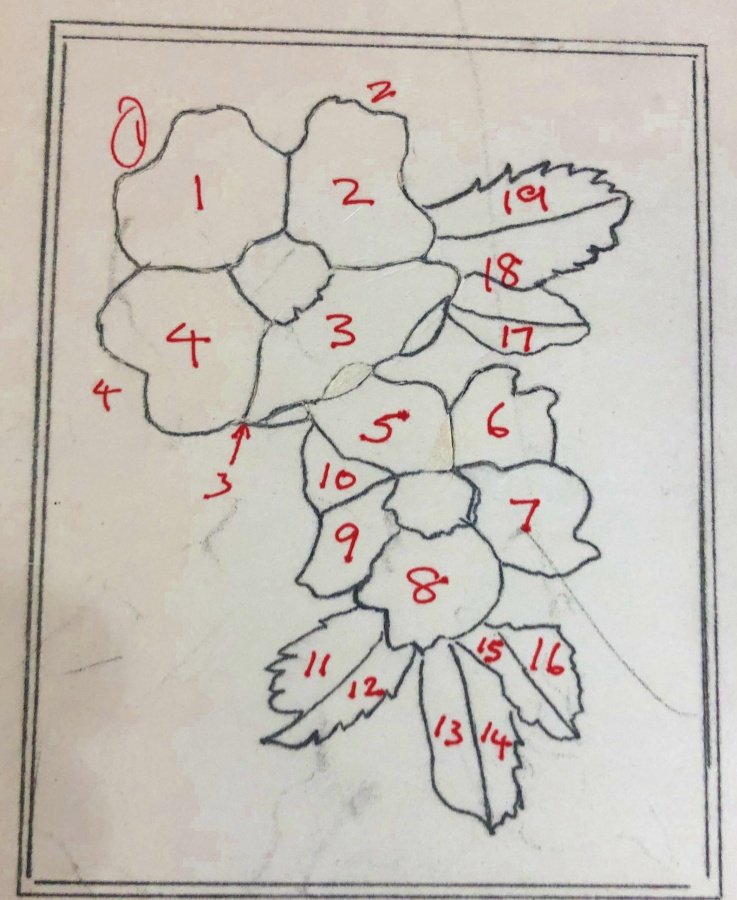
Veneer is taped to the back of the cardboard, and using a sharp scalpel blade, the shape of a piece is cut round. The angle of the cut to vertical is important. It needs to be at 10 degrees off vertical so that the actual cut side is vertical. This compensates for the width of the cutting blade. Care has to be taken that the front of the veneer is top most. There is apparently a front and back to veneers.
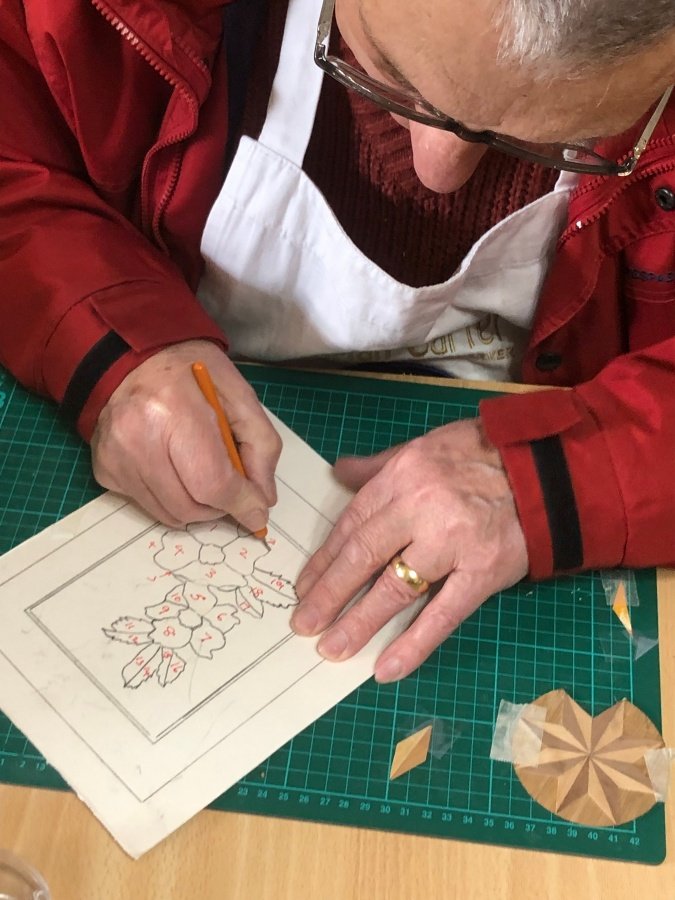
Cutting the out the shape of the first element of the design
The cut out veneer is then taped into position on the back of the cardboard. Then the next shape can be cut and that is again taped to the back of the cardboard.
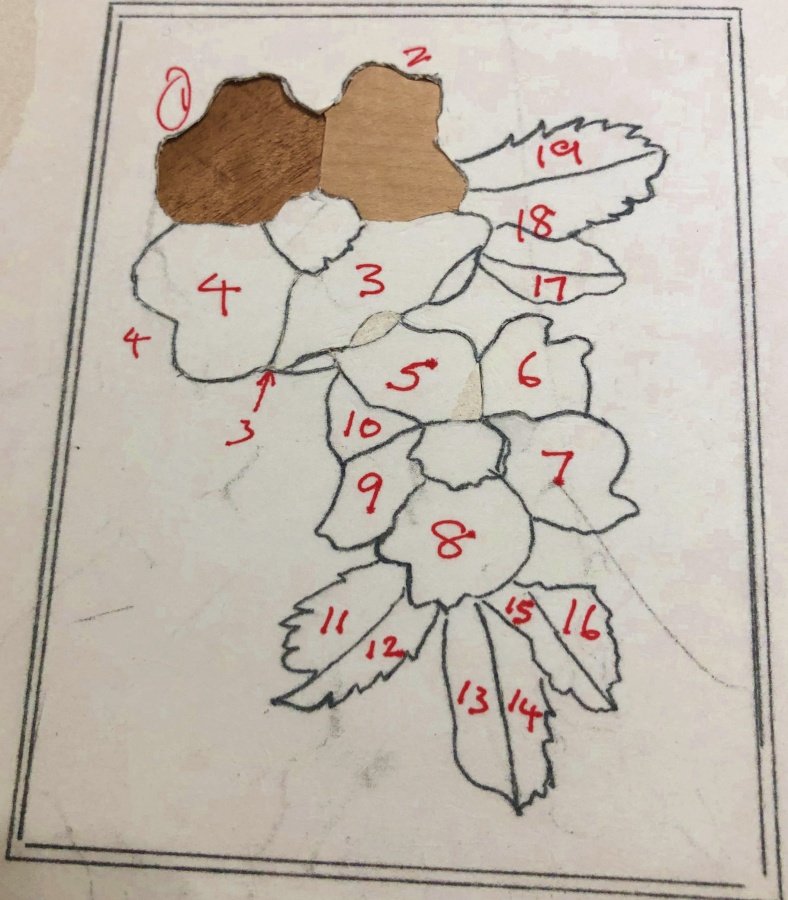
Two shaped bits of veneer in the design
When all the shapes have been cut the work is then glued to a MDF baseboard using Titebond Cold Press for Veneer and left for a day. Ordinary PVA glue does not work well. The work is put into a homemade press rather like a flower press. As not all veneers are exactly the same thickness the whole work is sanded with a rotary sander. Any gaps between the pieces of veneer can be filled with PVA glue. Upto 12 applications of Sand and Sealer are applied with gentle sanding when necessary. Finally a wax finish is applied.
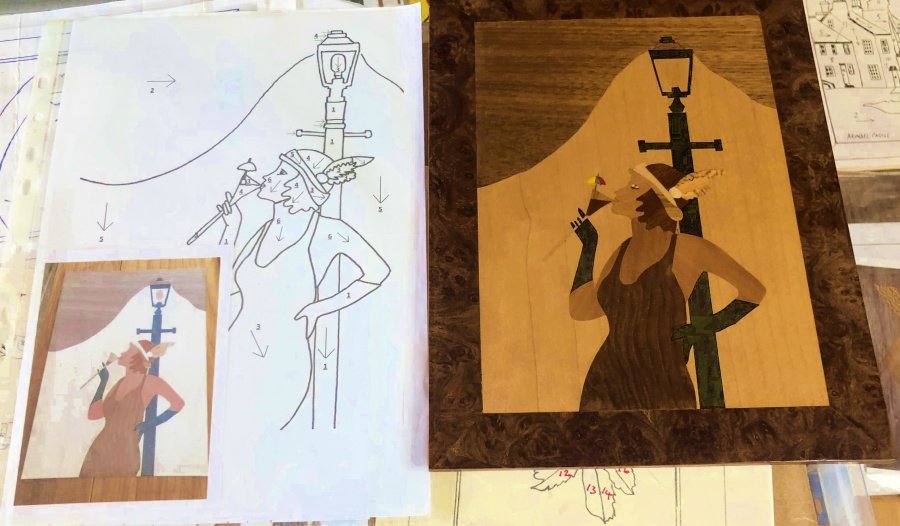
Above is an example of the original picture, the outlined plan for the work, and the finished work. This was from a kit and the plan helpfully shows the direction of the grain so that the flesh of the arms etc goes in the direction of the limb.
Not all the colours required for a piece of work can be sourced from natural woods, so dyed veneers are available. The dye is forced into the wood under pressure and is stable. All through the wood is coloured so there is no fear of cutting into a veneer and finding some of the original white of the wood. There are some quite exciting colours available.
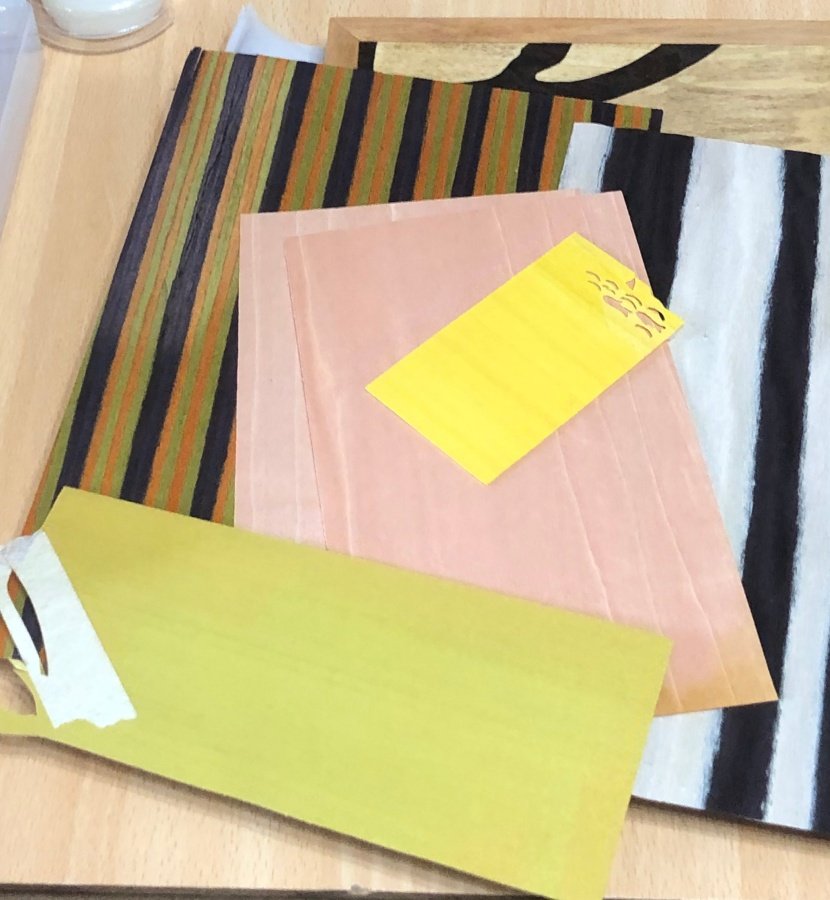
Dyed veneers
Some more examples of Adrian’s work
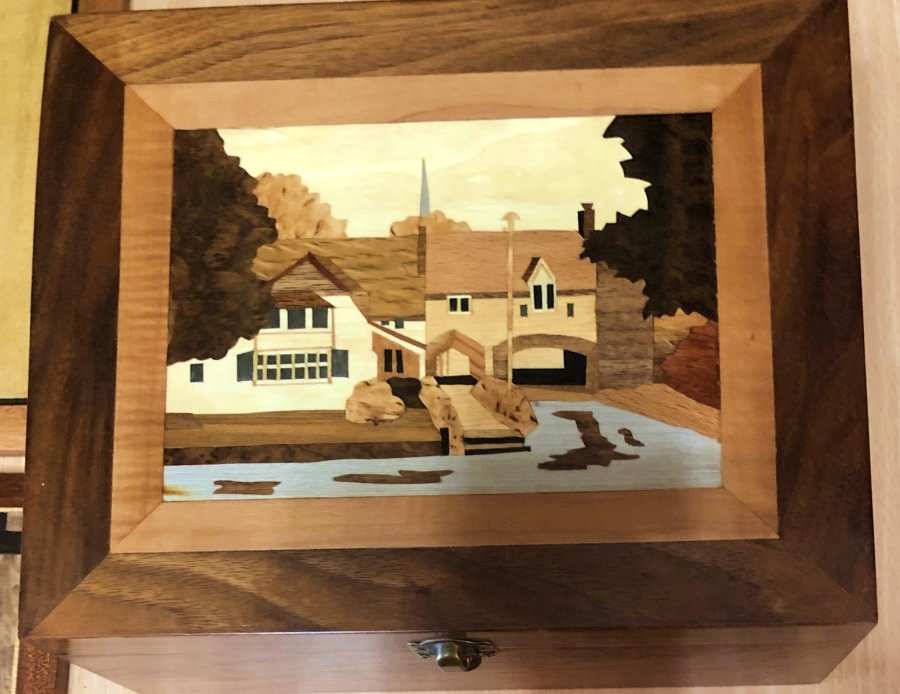

Rated as very complicated and tricky by Adrian
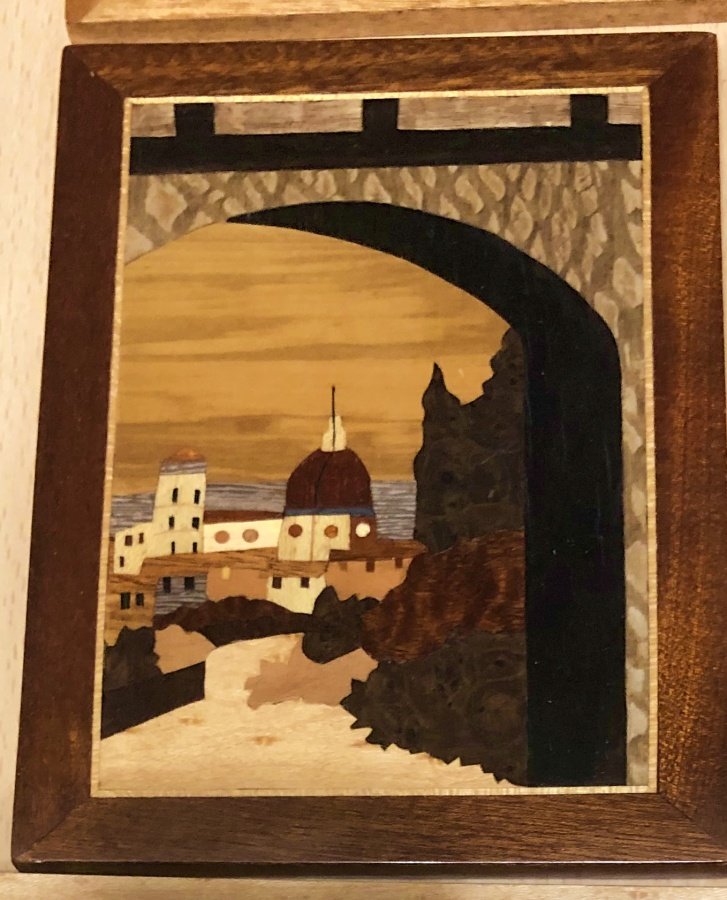
Created from one of Adrian’s own photograph

Brilliant art works well done 👏
I think that all those who attended were very impressed by the skill that had gone into the work. Adrian made it all look so easy